killarney cloudscape project
Learn how I developed the Killarney Cloudscape palette-knife painting.
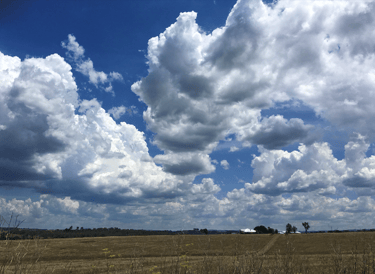
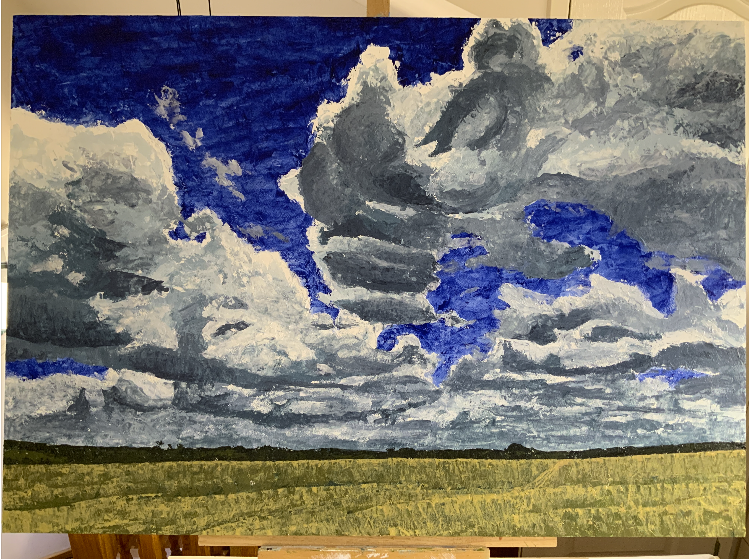
While searching for inspiration, I found this great photo I took from a moving car on the road from Warwick to Killarney, in south-east Queensland. I loved the complex shapes and patterns in the clouds, and the subtle colours. It seemed great for a restricted palette painting.

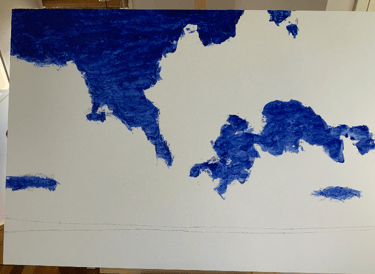
I had a 100 x 70cm cradled panel prepared — with a sheet of Fabriano watercolour paper mounted with acrylic gel. To ‘break’ the paper, I began by drawing the cloud shapes with a watercolour crayon.
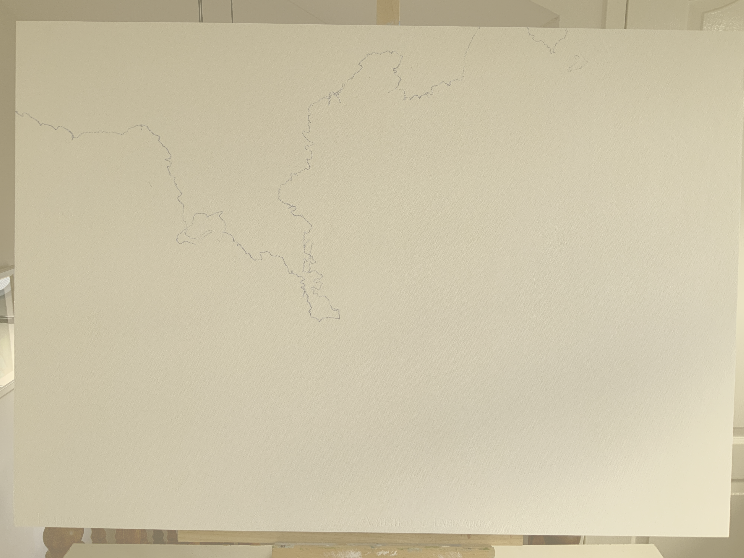
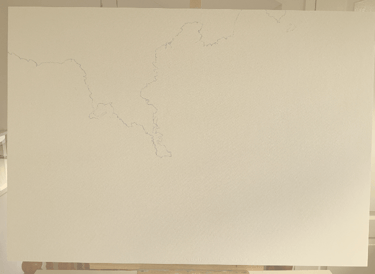
1
2
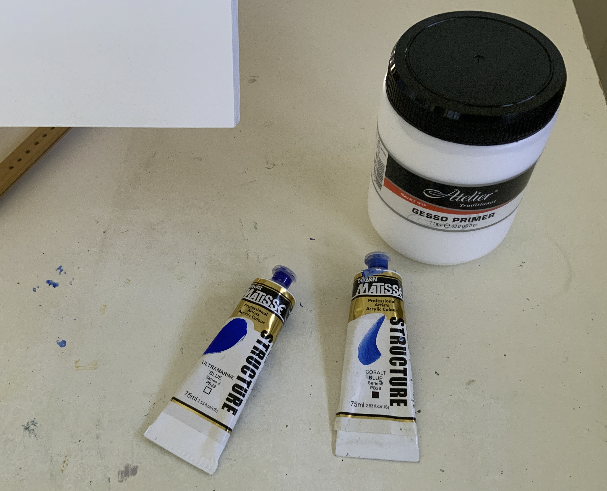
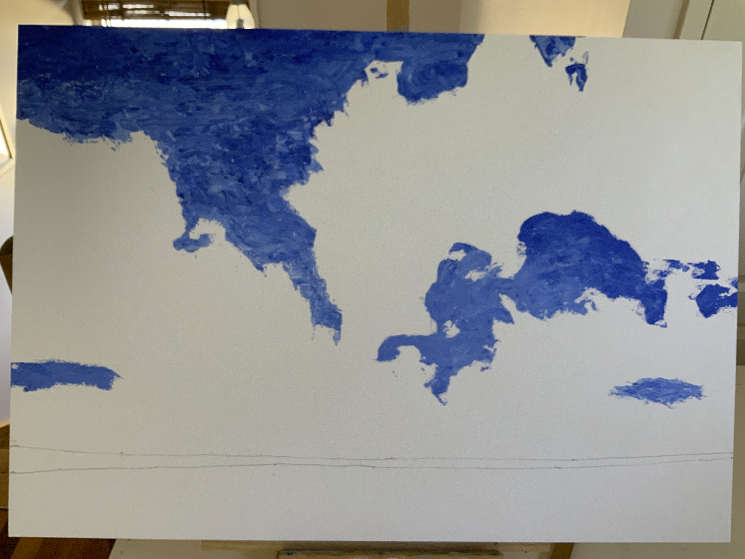
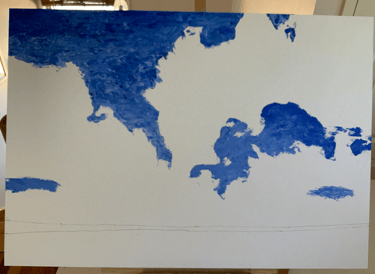
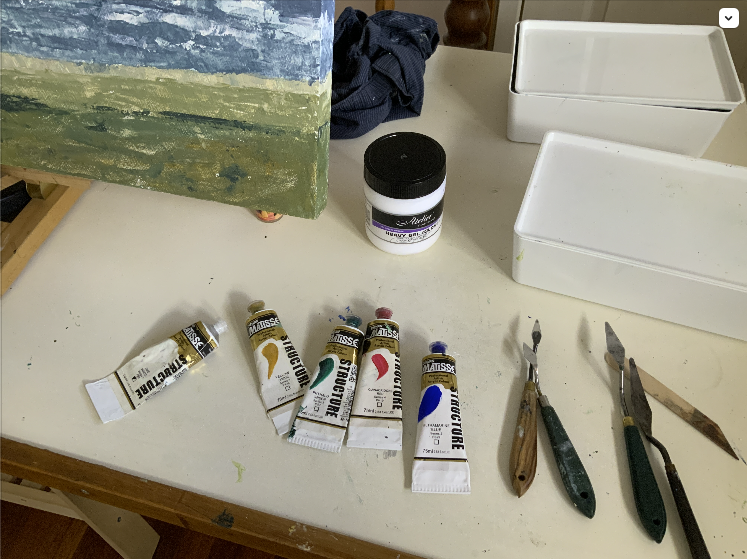
By the time I was happy, and well bored, with that, I’d decided to try this one primarily with palette knife, building up a lot of texture along the way. To start on the cloud I mixed up a batch of deep blue for the sky, beginning with ultramarine and cobalt blues, and extending it with gesso.
I added more and more gesso as I descended down the paper to transition to a lighter shade. Once this dried, which took an hour or so because this gesso dries slower than acrylic alone, I decided the next step was to apply another palette-knife application, this time of transparent colour to add more visual interest.
3
4
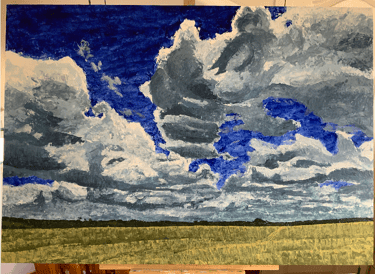
So I chose transparent colours and added heavy gel for enough body for the knife. Smallest touches of ochre (yellow oxide) and dioxazine purple made a transparent steelish blue.
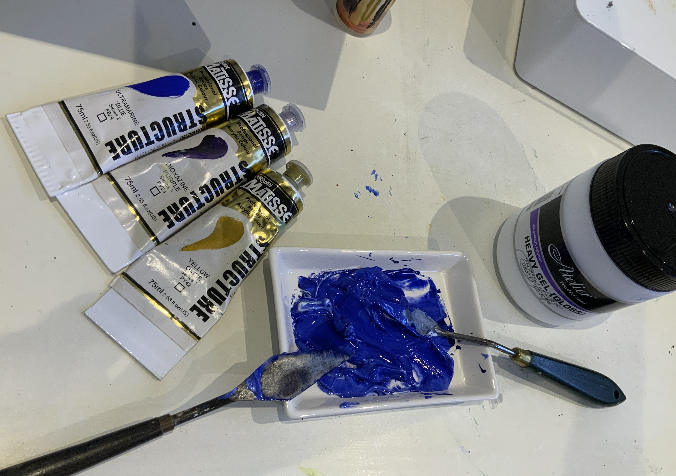
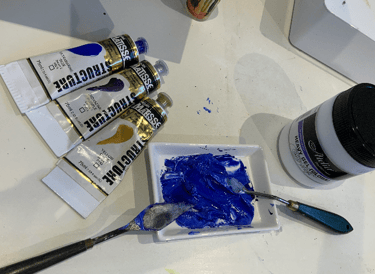
After applying the gel layer the effect was more to my liking.
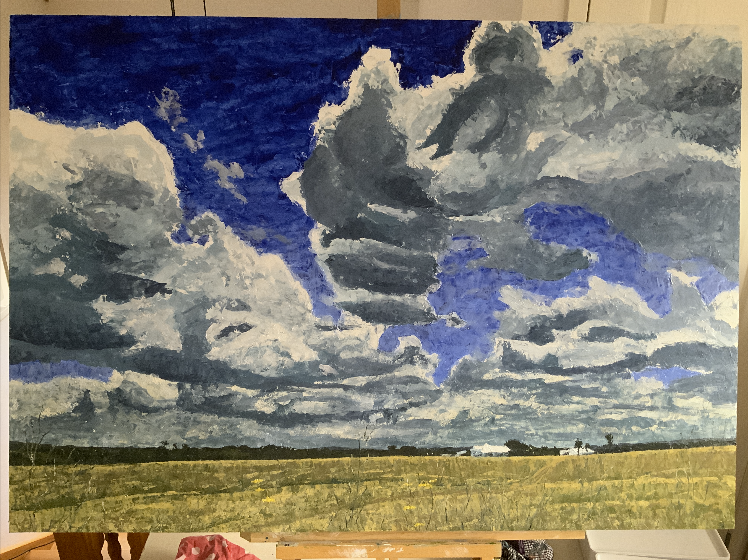
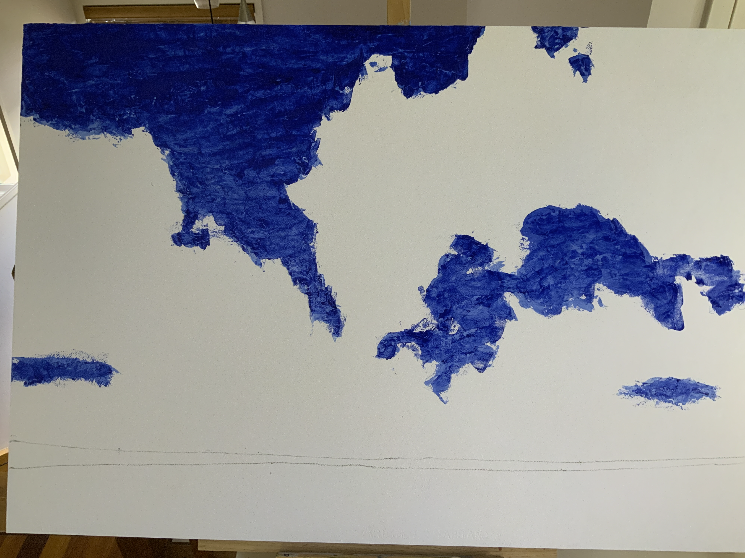
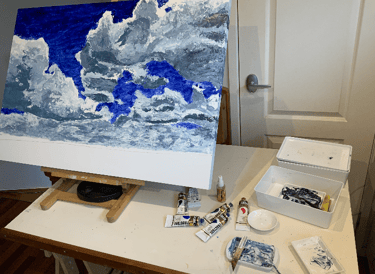
My plan was to continue in the same way for the remainder of the painting: A first layer with gesso and some colour, then a second with gel and tints. For the clouds I mixed up a graded white through to grey in a couple of ceramic dishes and worked quickly, all still with a large palette knife.
5
6
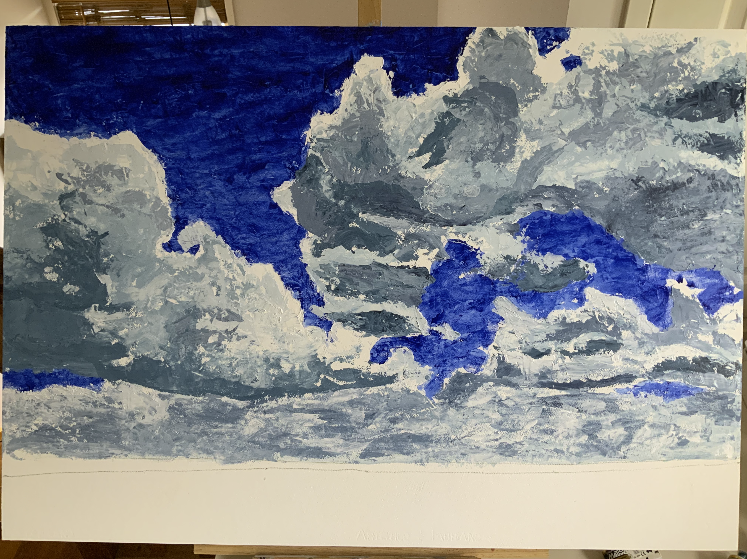
To make the grey I mixed a tinting black from 1:1 quinacridone red and phthalo green, with a little ultramarine to blue it up a little. It’s okay I think that I didn’t get it exactly the same each time—it adds some interest.
An advantage of painting with the gesso is that is has a reasonably slow drying time, giving plenty of time to adjust as needed. Even after an hour the thicker parts were still quite wet.

Like the first layer of sky I was unhappy with it in places. I made it the job of the next gel and grey layer to unify the tones more and improve delineation as required.

7
8
While drying continued I worked on the foreground, using similar techniques.

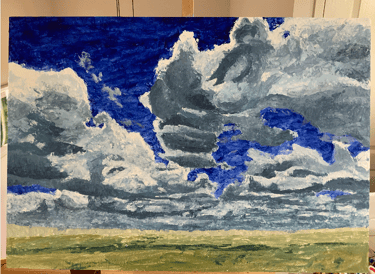
I added only phthalo green to some of the previously used colours — all transparent. There is no such thing as a transparent white of course; the closest is zinc white, which can be a saviour in some situations.
9
10
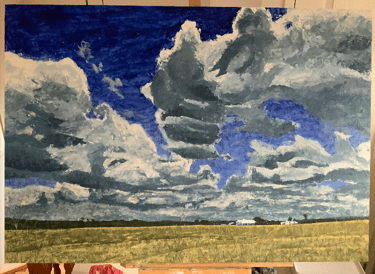
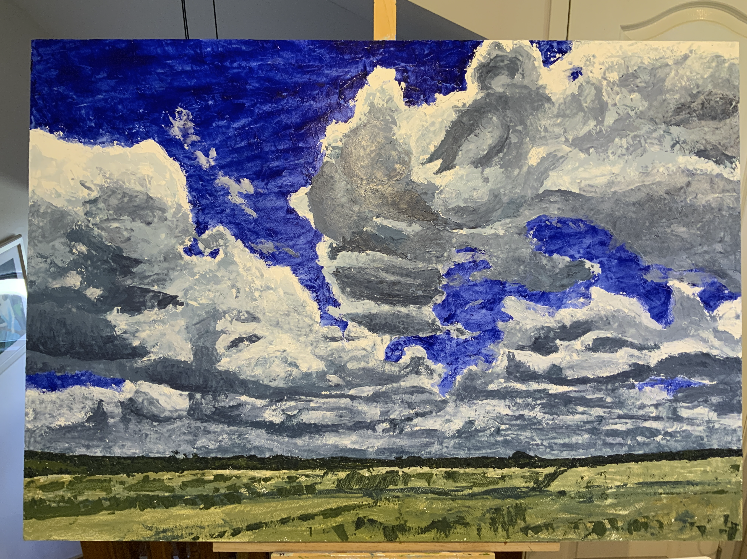
I added the treeline and foreground darks, then continued to delineate the features.
11
12
The homestead was a lot of fun. Using only the palette knife prevented me from descending into irrelevant detail.
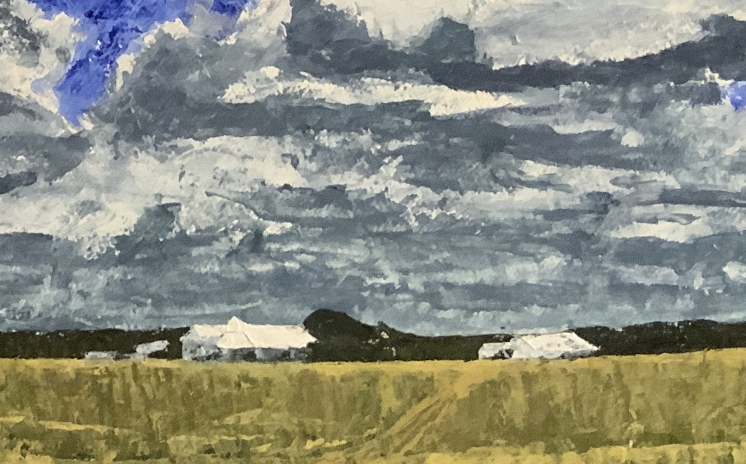
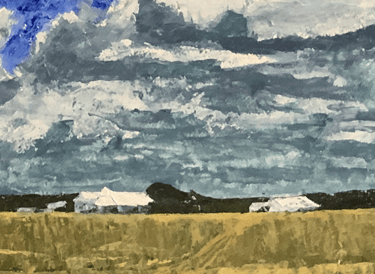
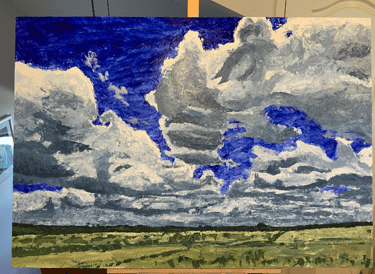
At the final state were the small departures from palette-knife application. For the foreground sticks and stubble I used the edges of torn cardboard to stamp the curved lines. Then using a little spreader medium to help, I smeared some of the foreground colour up into the bottom clouds with a rag. The final painting is here.